Chapter 6
Fuselage Assembly
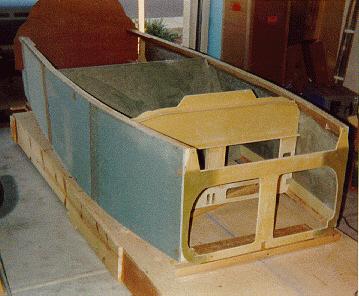
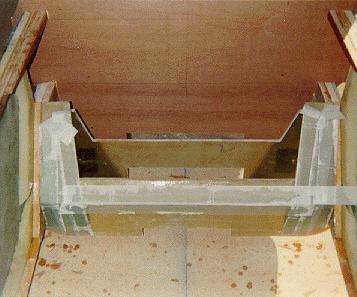
Now that the bulkheads and sides are built it is time to mate them altogether. First there is a lot of fitting and trimming to get everything to fit smooth and tight. Once I was satisfied with that, it was time to take the plunge and put some flox on the joining parts and clamp them together. You start by attaching a temporary firewall to the rear of the fuselage and attaching the F22 bulkhead to the front temporarily with nails. You then fit the seat back and the instrument panel between the sides and clamp them tight for a good bond making sure everything is perfectly level and true. Here is my fuselage in the clamps.
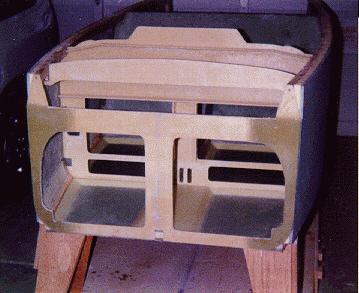
Once this is cured you can remove the clamps and attach the F28 bulkhead at a location between the firewall and F22. Moving to the rear of the fuselage it is time to clamp the landing gear bulkheads in place. Here is a picture of the fuselage prior to attaching F28.
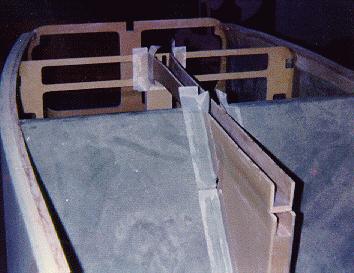
Once the bulkheads are all flox'd in place you tape the joints on each side of the bulkheads with 2" wide fiberglass. This makes the joint much stronger than the flox alone. You then add some reinforcements to the landing gear bulkheads and make it a much stronger support structure for the gear. This isn't the only time this will be done. This area gets many, many layers of reinforcement prior to fitting the gear in place. Here is an example.
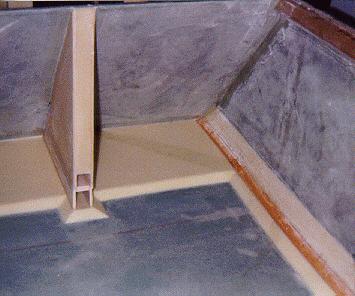
It's now time to turn the fuselage over and permanently attach the lower half of the firewall with flox and fiberglass. With this complete I turn my attention to building the seatback brace and heat duct. The brace serves multiple functions - bracing for the seatback, map pocket, fuel selector valve attach point and, in my case, the attach point for the electric speed brake mechanism from Wayne Lanza. The duct/brace are glassed together and attached to the fuselage as shown in the pictures below.

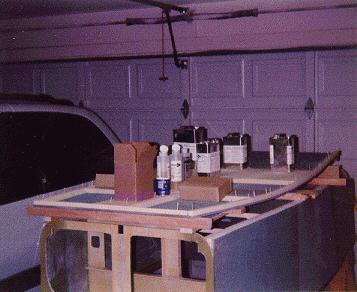
After the brace is in place it is time to fabricate the fuselage bottom. I began by fitting together three large pieces of foam with 5-minute epoxy and then laying it on the fuselage bottom (which is up since you turned the fuselage over). Taking a felt pen you mark the foam from the inside of the fuselage and then cut the foam approximately 0.75 inches larger than this. A couple of long 2x2's are now used to make a form over this piece of foam, ensuring the contour of the fuselage bottom is kept. The boards are temporarily attached to the foam with 5-minute epoxy. Once this is cured, the whole framework is lifted from the fuselage and turned over.
I cut the landing brake out of the foam and will come back to it in a later chapter. The bottom of the fuselage has some contoured areas for the leg openings and seats. To make these you carve a number of pieces of foam similar in appearance to the contoured foam made for the fuselage sides. These are laid out in the appropriate areas of the foam bottom and then micro'd in place and allowed to cure. Here are some pictures of the foam contour pieces.
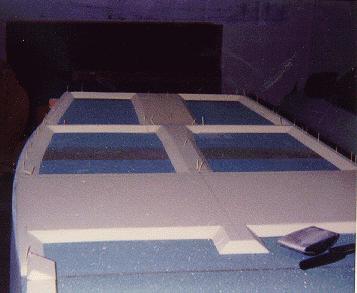
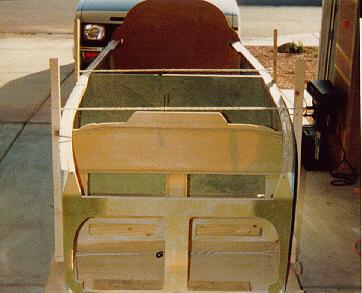
After the foam is cured, the whole area is glassed. This process is time consuming due to the contours in the foam. Care must be taken to avoid air holes and lifting. While the glass is still tacky, but still attaches to the foam, the entire form is lifted onto a well flox'd fuselage bottom and weighted down to cure. You need to crawl underneath the fuselage and this point and clean up the flox that squeezes out along the edges. Making sure everything was straight and level, I left it alone for a day to cure. After this I returned and taped all the joints. I turned the fuselage back over to help since I didn't relish the idea of crawling under this thing and brushing on epoxy. Once the tapes were cured, I flipped the fuselage back over to prepare for the exterior finishing in chapter 7. Here are some pictures of the floor before taping.