Chapter 13
Part 4:Canard Fitting
Prior to completing this chapter, the canard mounting tabs must be enlarged to 5/8" and bushing installed in the holes. I cut the holes and temporarily installed the bushing. I then cut the nose to allow the canard to fit nice and flush, level side to side and at the right incidence. After this was all checked, I permanently flox'd the bushings in place. I also attached some mounting plates on the aft side of F-28.
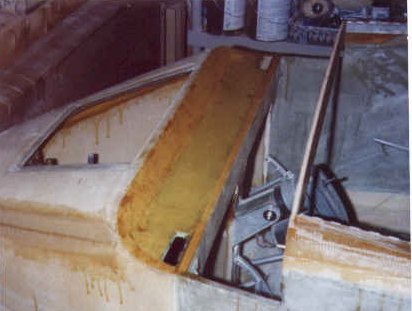
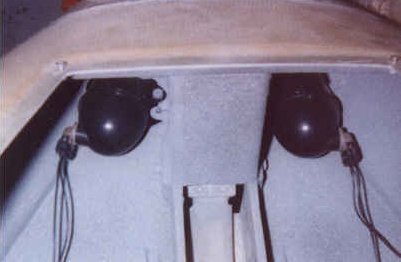
Finally, the nose internal area was complete and I flox'd the nose top back on and glassed the seams with BID. A filler piece of foam is fabricated to go between F-22 and F-28 to close off the gap under the canard. This was glassed and flox'd in place. With the nose now enclosed, I removed all the components and sanded the area so prepare it for primer paint. I chose a gray primer from the automotive store and sprayed it on all internal areas of the nose ahead of the instrument panel. After that dried, I painted over this primer with a texture paint of gray, white and black. This hides all the tape seams and cosmetic imperfections extremely well. I re-installed all the hardware and attached the taxi/landing lights to their brackets to complete this chapter. Here is a photo of the nose top and F-22/F-28 brace in place as well as the a look at the interior paint and nose lights.