Chapter 25
Finishing
This chapter deals with the worst part of the whole project (with the exception of possibly paying for the materials) - Finish contouring and painting! The finish surface of the wet lay-up, moldless fiberglass process is very rough due to the weave of the fiberglass cloth. The finish must be filled and sanded smooth to get the best paint finish and there is no easy way to do this other than sand...and sand and sand and sand.
Contouring
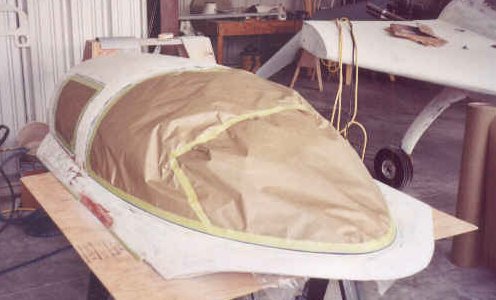
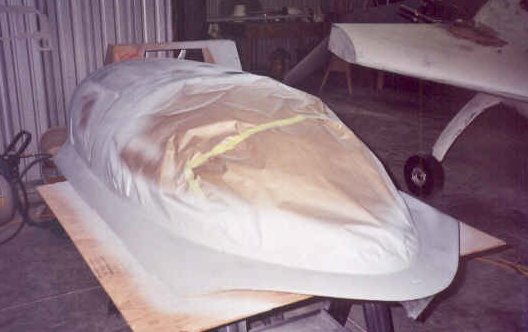
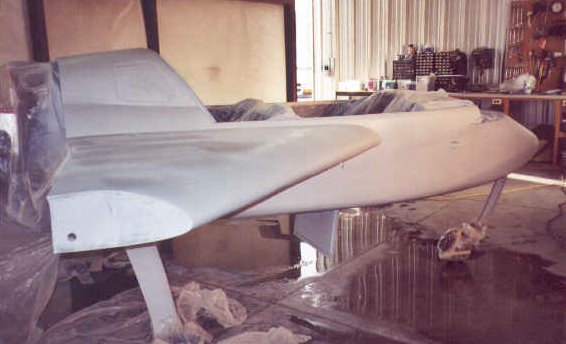
The contouring material is just dry micro and is used for the heavy filling of seams and low spots. I am also using a material called SuperFill that seems to be easier to sand. The material comes in two parts, premixed with the filler. You just mix the two parts, apply and let dry. Then about 6 hours later you can sand it down just like the dry micro. I am starting the contouring of the belly of the plane so I won't have to do it once the strakes are built. It is much easier at this point in time when the fuselage can be turned over relatively easy. Here is a photo showing the belly. I am using a piece of leftover 1 inch thick foam about 3 inches wide by 18 inches long with sandpaper spray-glued on it as a sanding board. You can see I had to do a lot of filling in the area around the speed brake and at the aft end near the gear well. The filled but not yet sanded nose seam can barely be seen in this shot taken in the spring of 1998.
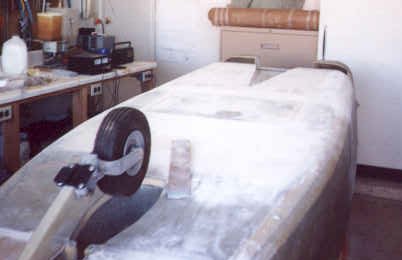
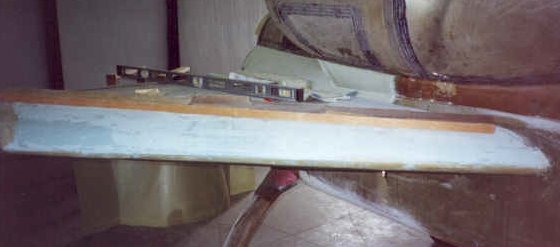
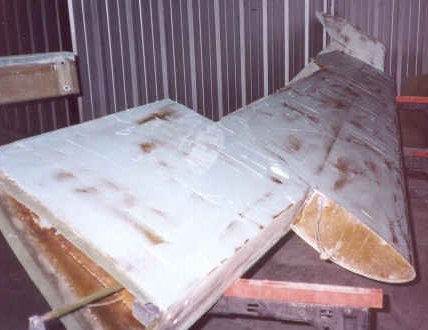
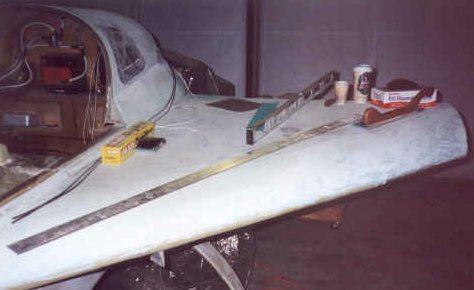
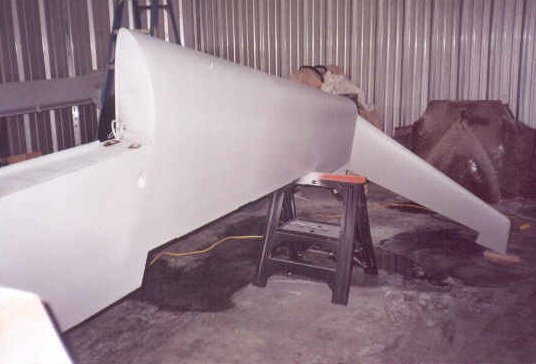
Here are a few more pictures of the filling/contouring of various components.
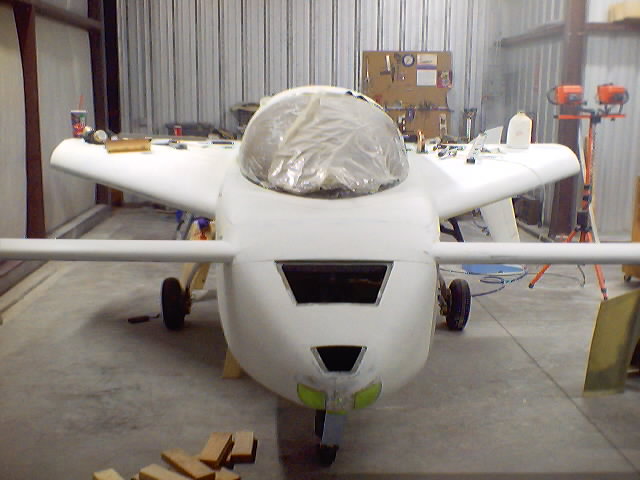
Primer
After contouring the entire surface with SuperFill, I began applying a roll-on primer called SmoothPrime made by the same folks who make SuperFill. The primer has a UV protectant built into it so it serves two purposes. The nice thing about SmoothPrime is that it can be rolled on instead of sprayed. The material fills pinholes exceptionally well and is easy to apply. It comes with a hardener that must be mixed in right before use to make it cure. After applying 6 coats (yes, 6 - each coat is relatively thin) it can be sanded with 320 grit for a nice even surface ready for paint. The next three pictures below are of the SmoothPrime.
After speaking with numerous people on the benefits/drawbacks of flying in primer I decided to fly in primer for the first few hours at least. This way if any exterior modifications need to be made I won't have to try to patch the paint. The primer gets sanded and shot on about three times prior to the paint step. I decided to spray PPG's K-36 as a surface primer after sanding the SmoothPrime which was primarily used as a primer filler. While the SmoothPrime may be fine as is, I think the PPG product may be more friendly to the eventual Acrylic Urethane paint. The following pictures are of the K-36 primer applications.
Canopy before and after.

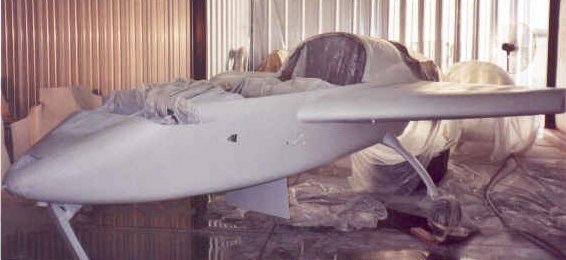
Fuselage before and after.
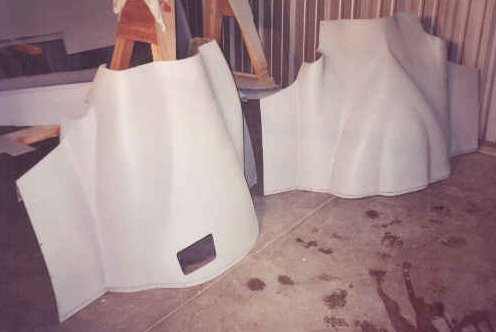
Cowlings after primer.
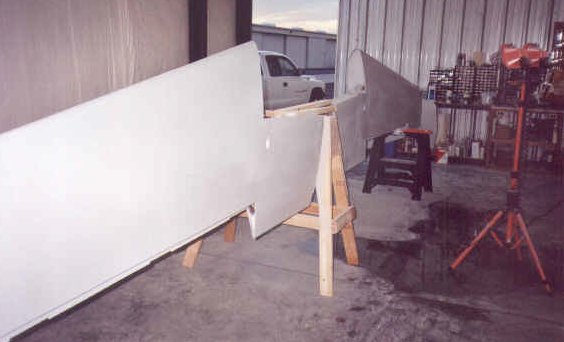
Wings in primer.
Everything in primer and reassembled in early March, 2002. Final inspection is imminent!
Paint
After long and careful thought, I decided to do the painting myself. I don't know how many times I went back and forth on this decision. I've chosen to use Sherwyn-Williams ACRY GLO Acrylic Urethane. This is a very common aircraft paint and it turns out to be much less expensive than the PPG Concept paint used by many other Cozy builders. I chose White Star as the base white coat and three metalic trim colors - Cumulus Gray, Dark Blue and a dark burgundy called Paisley. I've exhausted efforts to have my original paint scheme done by an airbrush artist and have chosen a trim design I can do myself. All of this will be topped by a clear coat for UV protection and to get a deep color effect. These paints must be sprayed on so I purchased a standard pressure-type spray gun by DeVilbiss. Previously I had purchaded a HVLP/ fresh air respirator called the Citation from Axis Products (same makers of the HobbyAir respirator). I used this to spray the primer, but prefer the standard gun for the paint.
I started with the canard and elevators. Since the plane flew for 45 hours in primer, I wanted to get any oils, bugs, grime, fingerprints, etc off the surface before painting so I sanded the primer down with 180 grit until the filler just started to show. I then washed everything with hot soapy water and then cleaned it off with PPG's 330 cleaner/degreaser. I hung the canard and elevators on a step ladder with the leading edges pointing up and shot on a couple of fresh coats of K36 as a sealer. I let this cure for a day and then wet sanded it with 400 grit. Again, it was washed and cleaned with 330, then I took a tack cloth to the entire surface. OK, finally the canard was ready for the base coat of ACRY GLO. I shot a light mist coat first and let it tack dry before putting on a thicker coat. It really helps eliminate runs if it is done gradually like this. I put about 3-4 coats on before I was satisfied with the finish and boy did it look GREAT! And this was without any buffing or clear coat yet!
I chose to put the three trim colors on the tips of the canard, so I wet sanded the white with 400 grit to get the shine off and prepare the surface for trim and clear coats. The clear can be applied directly over the color or base coat if it is done within 24 hours, but any longer than that and it should be scuffed for good adhesion. After sanding the finish looked dull and I wasn't sure what to expect. It looked so nice before I sanded! I trimmed off the canard tips for the colors and applied each one with an accelerator to speed up the curing process. This way I could get all 3 trim colors applied within hours and then proceed directly to the clear coat. After one color was painted I let it cure and then masked it off so the next color could be applied. I did this for the last two colors. Finally, I could apply the clear coat. Again, I started with a fine mist coat and gradually increased the volume. After 4 coats I was happy with the result and what used to be a dull finish was once again glossing and slick again. The last coat of clear was applied too thick in one spot and I got my first run. Oh, well, I learned (although not too well as I repeated this a couple more times on the wings and canopy!). After cure I was able to wet sand the run out and everything looks great.
The elevators, rudders and ailerons were done next. They were all white with no trim colors, but I still had to scuff sand them as I was not able to do the clear coat the same day. I also made a mess of one of the rudders but was able to sand it out and airbrush the area before clear coating it a week or so later.
The wings were next, but I had to do some repairs to fix a few minor imperfections I saw after applying the primer. I elected to paint the base coat first on both wings again and let them cure since I was going to be applying trim colors to the winglets. After getting them ready I applied the trim colors to the tips of the winglets using the same procedure as I did on the canard. I also had a couple of templates made for my N numbers and used them on the lower winglets so I could paint the N numbers instead of using stick on letters. As soon as the trim colors were dry to the touch I applied the clear coat to each wing.
I proceeded to do the canopy next and spent a few days preparing some imperfections before applying a new prime coat. I wet sanded the primer, applied the base white and tried to apply the clear coat immediately after, but was foiled by a freak rain cloud that managed to sputter a few drops of rain on the wet clear coat causing about two dozen fish eyes to appear. So, I let that cure, sanded out the fish eyes and re-applied a couple more coats of color and then clear (making sure no clouds were present!). This time however, I got dust particle! I'm sure learning a lot about paint and painting conditions. If you're going to paint outdoors, do it early in the day, make sure no rain clouds are in the sky and if there is a hint of a breeze, don't live anywhere near the desert! I'll buff out the clear coats on all the surfaces after I get the plane assembled again, so I'm sure the dust particles will clean up OK. I'm not trying to win any awards with this plane, but I still want it to be attractive.
Last but not least the fuselage was prepared for paint. All the same steps as before, along with three color stripes going down the sides of the fuselage. I also made another template to paint the name of the plane just under the rear windows - "Blonde Streak". The finished product came out rather well for a first timer, even if I do say so myself.

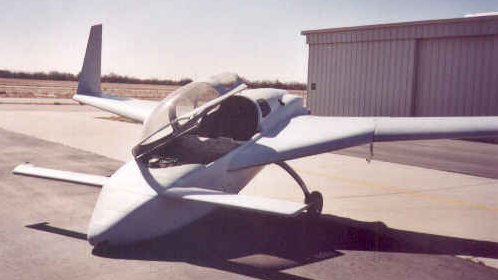
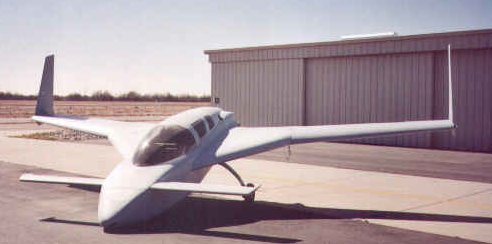
The finished product!
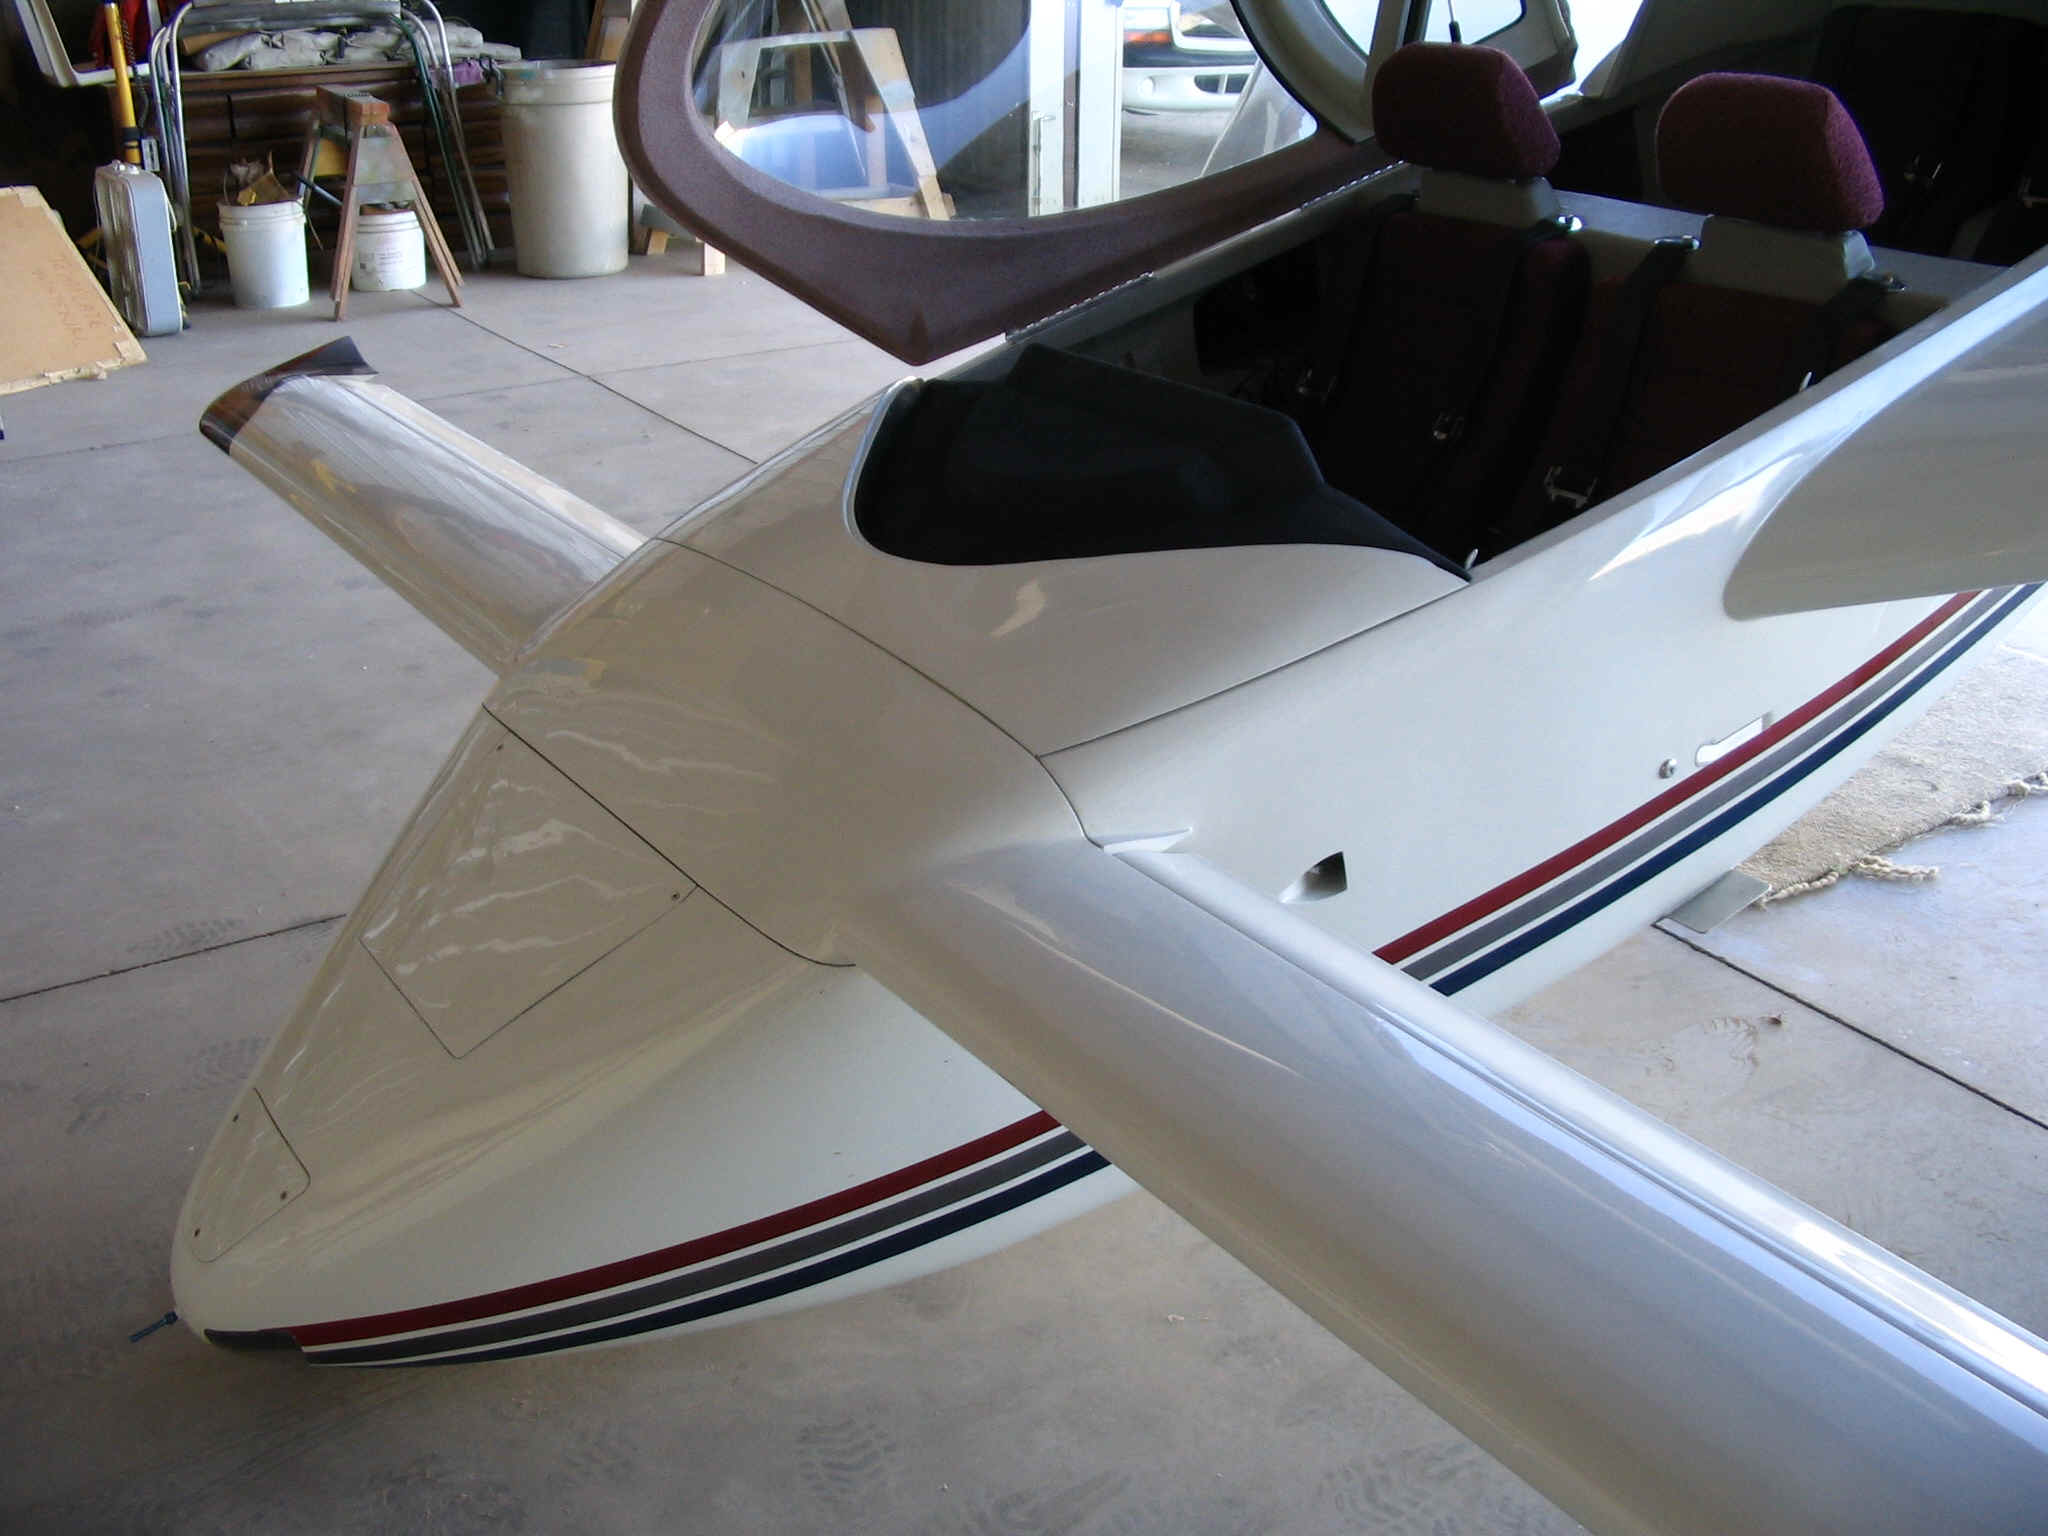
Nose and canard detail

Canard tip paint scheme

309 is the serial number of the plans I purchased and the letters BD are my initials

Winglet paint scheme is very similar to the canard tips

Brian and 'Blonde Streak'